Beginner Woodworking: Your First Weekend Project – Complete Guide
Woodworking is one of the most rewarding hobbies you can pick up. In this comprehensive guide, I will walk you through your first weekend project – a simple wooden shelf. After building dozens of projects over the past 15 years, I want to share my favorite beginner-friendly projects.
Why Start with Woodworking?
Before diving into projects, let me explain why woodworking has been so rewarding for me:
- Creativity: Express yourself through functional art
- Problem-solving: Learn to think in three dimensions
- Patience: Develop mindfulness through careful work
- Practical skills: Create furniture for your home
- Pride: Own items you built with your own hands
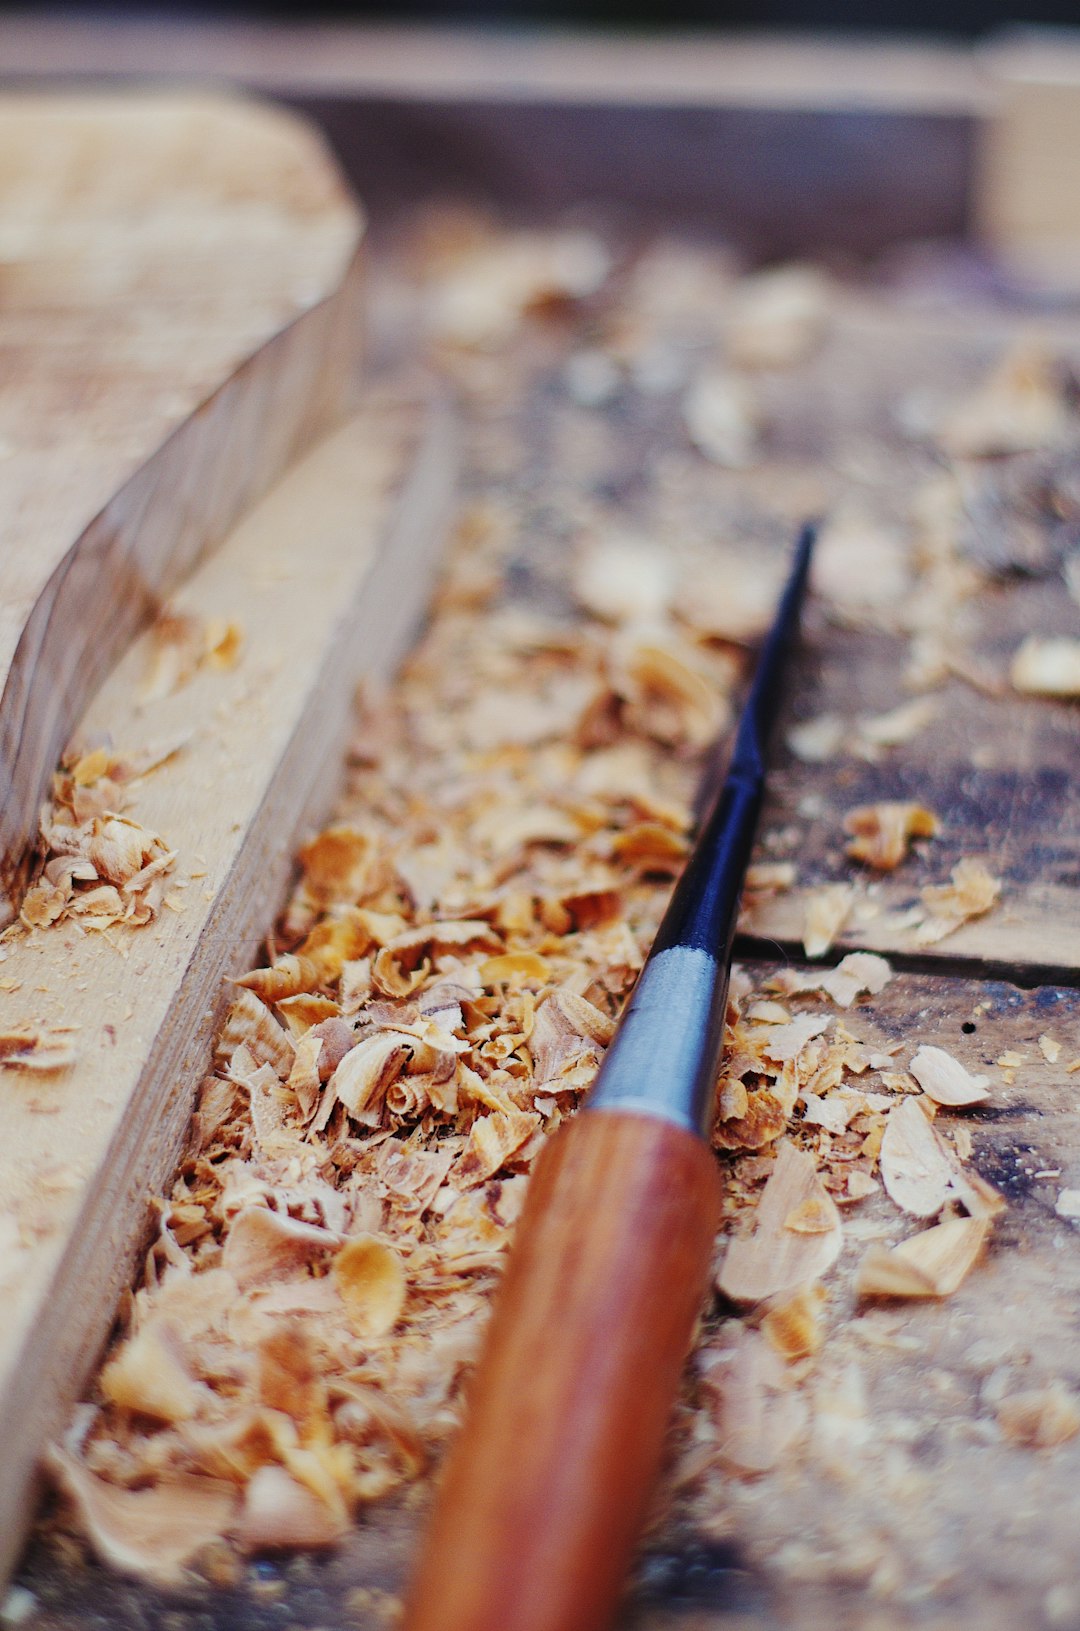
Essential Tools for Beginners
Before starting your first project, you will need some basic tools. Here is my recommended starter kit:
Must-Have Tools
- Circular saw ($50-100): Essential for straight cuts
- Drill/driver ($50-100): For driving screws and drilling holes
- Measuring tape ($5-10): Accuracy is crucial
- Square ($10-15): For marking and checking angles
- Clamps ($20-40): At least 4 clamps of various sizes
- Sander ($30-60): Random orbit sander is best for beginners
Nice-to-Have Tools
- Miter saw for angled cuts
- Jigsaw for curves
- Router for decorative edges
- Workbench or sawhorses
Project 1: Simple Floating Shelves
The perfect first project. Floating shelves teach basic skills without overwhelming complexity.
Materials Needed
- One 1x8x4 pine board
- Floating shelf brackets (2)
- Wood stain or paint
- Wood screws
Time Required
2-3 hours
Step-by-Step Instructions
- Measure and cut – Measure twice, cut once. Cut your board to desired length (I recommend 24 inches for a first project).
- Sand – Start with 120-grit sandpaper, then finish with 220-grit. Sand with the grain direction.
- Drill holes – Drill holes for bracket support. Pre-drill to prevent splitting.
- Apply finish – Apply stain or paint. Let dry completely between coats. I recommend 2-3 coats.
- Mount brackets – Attach brackets to wall studs for stability.
- Attach shelf – Mount shelf to brackets.
Tips for Success
- Use a level when mounting
- Find wall studs for secure mounting
- Use spacers for even placement
- Let finish cure 24-48 hours before mounting
Project 2: Cutting Board
A practical kitchen item that makes a great gift.
Materials Needed
- Hardwood boards (maple or walnut)
- Wood glue
- Sandpaper (120-400 grit)
- Mineral oil
Time Required
4-5 hours
Key Skills Learned
- Gluing and clamping
- Flattening with a sander
- Applying food-safe finish
Steps
- Cut boards to strips
- Glue strips together
- Clamp and let dry
- Sand smooth (120 to 400 grit)
- Apply mineral oil
Project 3: Work Bench
Build your first real furniture piece – a sturdy work bench.
Materials Needed
- Two 2x4x8 boards
- One 3/4 plywood sheet (2×4 feet)
- Wood screws
Time Required
3-4 hours
Design
- Cut legs from 2x4s (30 inches)
- Cut top from plywood
- Attach legs to top with screws
- Add lower shelf for storage
Project 4: Coffee Table
Move up to furniture building with this classic project.
Materials Needed
- Four 4×4 posts (for legs)
- Two 1×12 boards (for top)
- Wood glue and screws
- Stain and polyurethane
Time Required
6-8 hours
Project 5: Garden Planter Box
Combine woodworking with outdoor enjoyment.
Materials Needed
- Cedar boards (naturally weather-resistant)
- Wood screws
- Landscape fabric
Time Required
4-5 hours
Essential Woodworking Terms
- Grain: The direction of wood fibers
- End grain: The cut end of wood
- Face grain: The wide, flat surface
- Rip cut: Cutting with the grain
- Cross cut: Cutting across the grain
- Miter: Angled cut
- Dado: Square-groove cut
Tips for Success
- Measure twice, cut once: This old proverb will save you countless mistakes.
- Start simple: Do not attempt complex projects until you master basics.
- Invest in quality tools: Cheap tools frustrate beginners.
- Join a community: Online forums and local maker spaces provide invaluable support.
- Accept imperfections: Your first projects will not be perfect, and that is okay.
My Beginner Mistakes
Looking back, I made several mistakes you can avoid:
- Buying cheap tools that broke within months
- Skipping the sanding step (big mistake!)
- Not using clamps (joints came apart)
- Rushing through projects instead of enjoying the process
Safety First
- Always wear safety glasses
- Use dust masks when sanding
- Work in ventilated areas
- Keep fingers away from blade paths
- Disconnect power when changing blades
Conclusion
Woodworking is a journey, not a destination. Start with simple projects, celebrate small victories, and gradually take on more complex builds. The satisfaction of creating something with your own hands is unlike anything else.
Remember: Every expert was once a beginner. Your first project will not be your best, but it will be the start of a rewarding hobby.